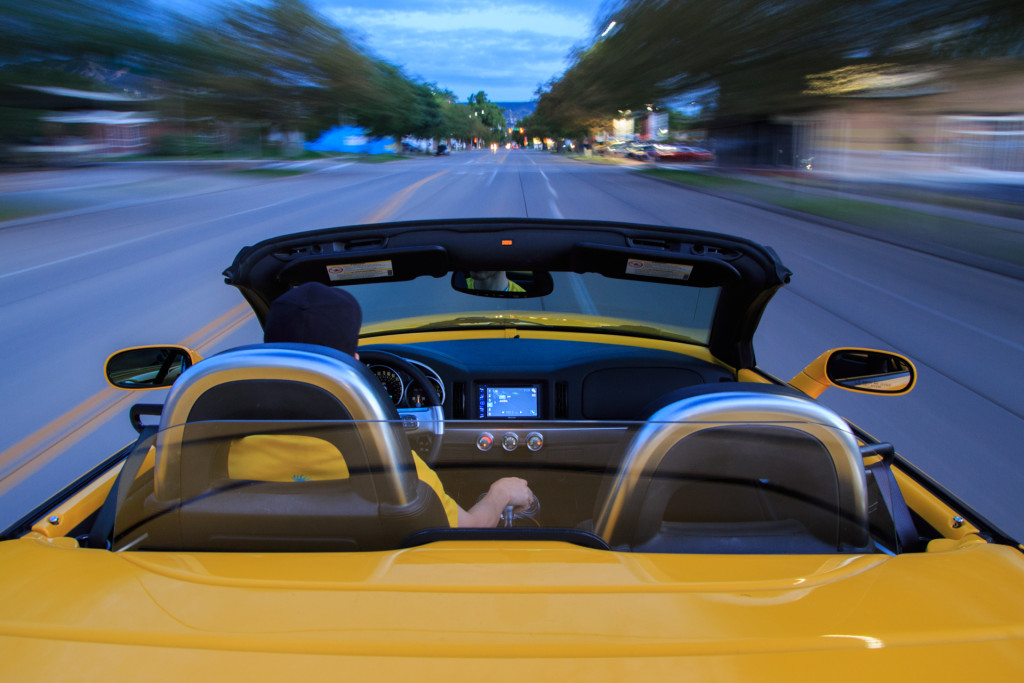
In this months teaching point we will examine an image that conveys motion in a still photograph. Showing motion adds another dimension to your photography and creates images that makes your viewers stop And ask how you did that.

Here are the camera settings:
Exposure mode: Manual
Shutter Speed: .6 seconds
Aperture: f/5.6
ISO: 400
Focus: Manual
White Balance: Auto (adjusted later in Lightroom)
Flash Used: No
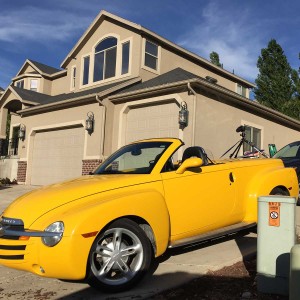
This photo required a good deal of setup and prep. It also required some experimentation to get the shutter speed just right. I started by securing the camera and tripod to the back of the vehicle, a borrowed Chevy SSR (yes, I had the owners permission):

Once the camera was secured, checked, and rechecked like a hundred times, it was time to set out to take the image. The next challenge was to find a location that would photograph well. My original location idea didn’t work out because it didn’t feel very balanced. It was heavy with trees on one side of the road, and bare mountain on the other and there were lots of pedestrians, cyclists, and other people on the road which made driving rather challenging.
To take the image, I used a wireless infrared remote with a 2 second delay. This allowed me to trip the shutter and then give me time to palm the remote and move my hand back down to the shifter for a more natural appearing driving position.
Once I found a good location it was then time to experiment with the exposure settings, finding the right balance of slow shutter speed, aperture and ISO for a proper exposure.
I also set the camera to use manual focus and the. Using the live preview, zoomed in and focused on the rear view mirror. I chose to use f/5.6 to obtain the amount of depth of field needed to keep the cars interior in focus. Since the background would be blurred from the motion anyway, no need to use a very small aperture.
I started at 1/4 second and experimented with speeds up to a full second, pulling off the side of the road after each pass to examine the image. Too slow and the image became blurry due to the movement of the car from bumps, engine vibration and drivetrain movement. Too slow, and the background blur was not enough to convey the sens of speed of the car in the image.
I also experimented with using image stabilization but settled on turning it off since the movement wa not enough for the image stabilizer to compensate and wound up causing images that were blurry.
Once I and everything dialed in it was just a matter of driving up and down Main Street in Bountiful, Utah capturing pictures so that I could pick the best one based on the background.
Once I was finished it was then into Lightroom to make the final adjustments:
Exposure: +0.55
White Balance: Custom using the sliders to get the color balance neutral
Highlights: -78 to bring the bright highlights down
Shadows: -32 to darken the shadows for more contrast
Whites: -37 to fix the brightest part of the is get, the bright sky in the background
Blacks: 0
Clarity: +16 to give the image a little sharpening and edge detail
Vibrance: +16 to mostly get the yellow of the car to look like it really does.
This image was shot for a vendor contest and the results will be announced the end of September. The contest was one of the trickiest I have ever entered since the rules were very specific. You had to use a specific lens at one of 2 focal lengths only and no HDR, panoramic or square crops. With a little bit of luck this image can be added to my list of “award winning images”.
Capturing images like this that add a 4th dimension a not only challenging to the photographer, but also a lot of fun. Try it yourself and let me know how you did.

